What is RAM? RAM stands for Random Access Memory it is apart of every computer. Installing new RAM can increase the speed of your computer. RAM comes in different sizes such as 2GB, 4GB, and 8GB. Standard computers comes with 4GB of RAM installed. If you have an old laptop that you would like to speed up then follow the below steps on installing RAM in a laptop.
Turn off laptop
Remove power cable and any other connected cables
Turn laptop over
Remove battery
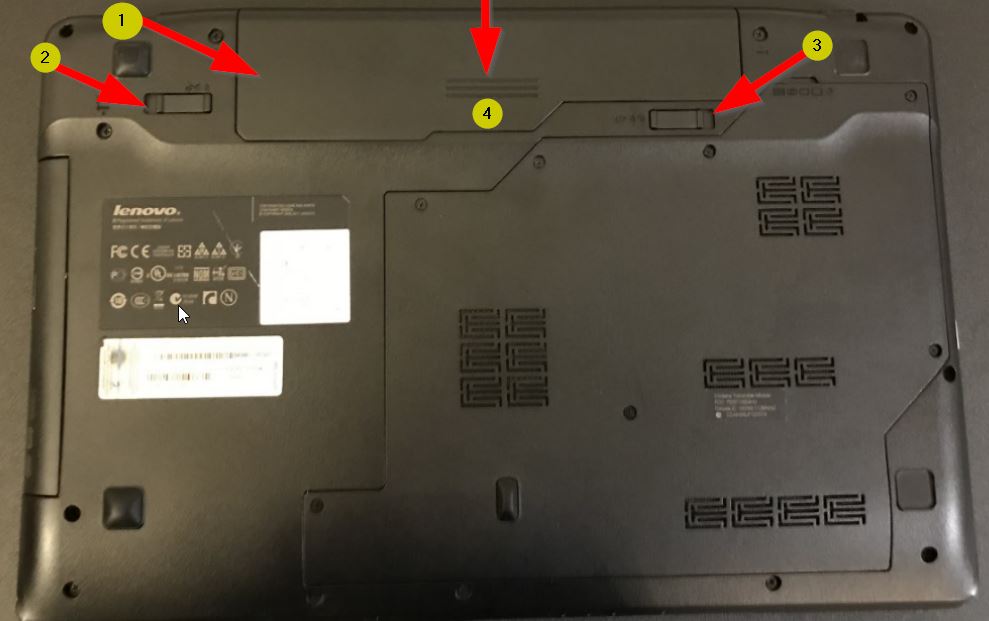
Unlock battery from the laptop case by pushing back 2 and 3. Press down on 4 then push back to remove the battery from the laptop case.
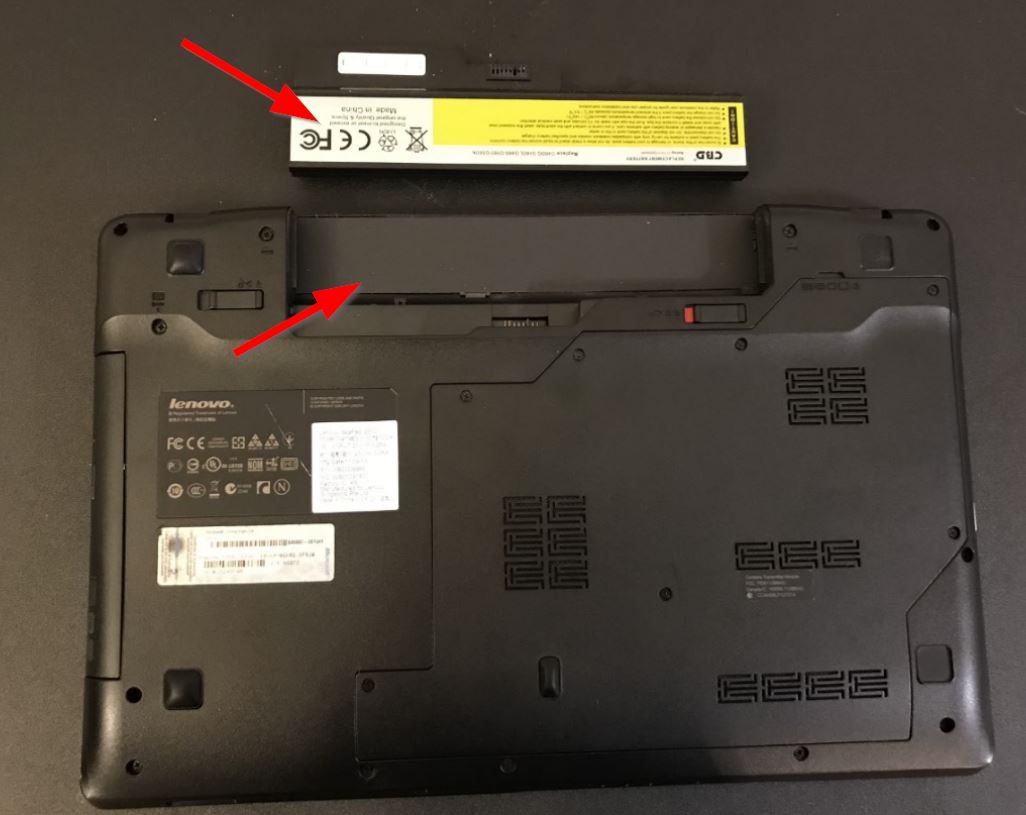
Battery is now removed from laptop.
Find the location of the RAM on the laptop
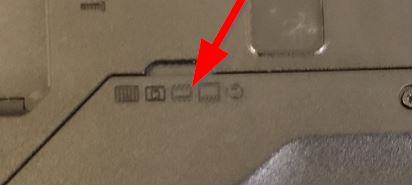
The location of the RAM can vary depending on the brand and model of the laptop. This laptop has sybomols to identify where the RAM is located. Also, identifies other computer hardware.
Use a Philips-head screwdriver to unscrew the screws

Push back latches and remove existing RAM
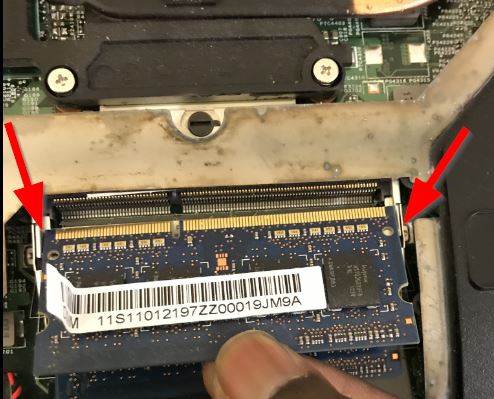
The RAM is secure by the latches on the side. To remove the existing RAM; push back the latches and gently pull RAM out of slot.
Insert new RAM
Now it’s time to insert new RAM. Push back latches in step 7 then push the RAM into the slot. Push the RAM down until you hear a click. Be sure not to push down on the RAM hard. When installing RAM you have to be very gentle. To prevent any damage to the RAM you are installing.
Screw cover back on laptop
Insert battery
Plug in power cable, if needed
To check to see if the computer recognize the new RAM:
Right-click on Start
Click System
Installed memory(RAM)
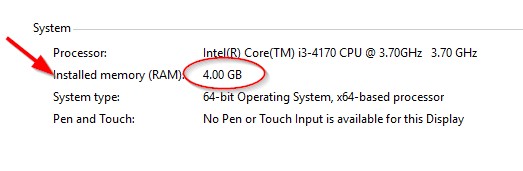
Ensure the number showing on your computer is the same amount you installed.