Lesson Overview: This Section will cover the Main Tool bar. A brief video will identify and demonstrate each of the tool bar's buttons and functionality. Upon completion of the exercises, individuals will be able to identify the different tool bar button and describe their functionality.
Two documents will be required to complete this lesson; the Sample 3D Model and the EIS Exercise. Please download and save both documents to your desktop.
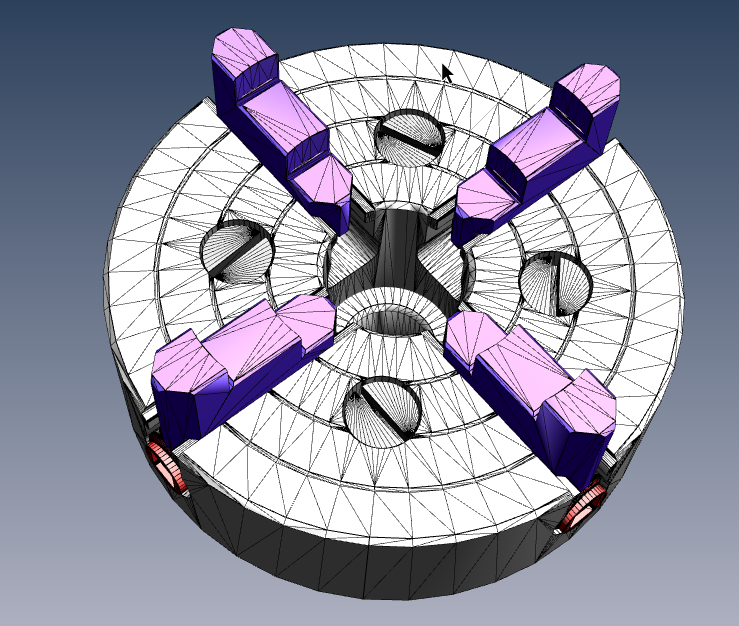
3D Brake ModelThe Main Menu Bar consists of sixteen individual buttons. Each Button has a specific attribute assigned and allows for selection. Buttons are encased in a light grey square when they are active. Depending on the button selected, multiple buttons are allowed to be selected at one time; as shown in the above image. Below you will find a listing of each button and a description of the button's functions.
The Rotate Button allows the user to use each of the mouse buttons. Selecting this configuration allows the user to use the Left Mouse Button to spin, the Right Mouse Button to Zoom, and both Buttons to Pan. This is the recommended setting for users.
Selecting the Spin Button deactivates the ability to use the Mouse Buttons as mentioned in the Rotate section. Selecting the Spin Button will allow the user to Spin the Model with the Left Mouse Button. Useful for users that require using a Touchpad or Trackball.
Like the Spin Button, selecting the Pan Button deactivates the ability to use the Mouse Buttons as mentioned in the Rotate section. Selecting the Pan Button will allow the user to Pan the Model with the Left Mouse Button. The on-screen Mouse Pointer will change from an arrow to a Hand. Useful for users that require using a Touchpad or Trackball.
Like the Spin and Pan Buttons, selecting the Zoom Button deactivates the ability to use the Mouse Buttons as mentioned in the Rotate section. Selecting the Zoom Button will allow the user to Zoom the Model in and out with the Left Mouse Button. The on-scree Mouse Pointer will become a magnifying glass. Useful for users that require using a Touchpad or Trackball.
The Fly Button allows the user to navigate through a model while maintaining surface orientation. As the user gets closer to the object movement slows down. This functionality is useful when lost in a model.
The Camera Properties Button allows the user to define the angle, alignment and properties of how a model is viewed.
The Measurements Button allows the user to complete measurements within the Model. Measurements can be linier, circular, or angles. The Measurements Menu Bar will display when selected.
The Measurements Menu allows the user to select the type of measurement they want to complete. Active buttons will show as Blue and inactive buttons are Grey. Taking measurements will be covered in a different lesson.
The 3d Comment Button allows the user to add a comment within the Model. Comments are useful to add when errors are found or areas of question arise. The comment is "pinned" to a particular spot on the Model. Adding a 3D Comment will be covered in a different lesson.
The Toggle Model Tree Button will activate and deactivate the 3D Model Tree located on screen left. The Model Tree is use to identify parts, sections, and areas within the 3D Model. Model Tree Navigation will be covered in a different lesson.
The Play Animation Button allows the user to play animations that are part of the 3D Model. Animations are not covered as part of this course.
The Projection Button allows the user to select between Perspective and Orthographic Projections. There is a difference between the two and how the Model is viewed Orthographic Projection allows the user to see a 3D Model with no distortion; all angles, sizes, and shapes appear correctly. Perspective Projection is more in lines one how we see in our daily lives. Models will appear to elongate in Perspective. An example that most know is how a long straight road appears to come to a point in the distance. It is recommended that Models be measured in Orthographic Projection. Differences will be highlighted between the two in various lessons.
The Model Render Mode Button allows the user adjust how a 3D Model is rendered on the screen. These options include adding outlines and viewing the part as a wireframe. Various settings will be covered in a different lesson.
The Enable Extra Lighting Button allows the user adjust the lighting of a 3D Model. There are various settings within this option with some examples such as CAD Optimized, Blue and Red Lighting. Different lighting options and how they can be used will be demonstrated when applicable throughout the various lesson.
The Background Color Button allows the user adjust the background color of a 3D Model. The color options are limited only by the display of the computer. This option is useful when a 3D Model has a color that is similar to the background. Additionally, a color can be selected to increase visibility. Different color options and how they can be used will be demonstrated when applicable throughout the various lesson.
The Toggle Cross Section Button shows cross sections of a 3D Model. 3D Model Cross Sections are not covered as part of this course.