
Office 365 and OneDrive
Setting up your Account
You will need to complete a quick series of steps/screens to activate your Office365 account. After activating it, you will connect it to the Office apps on your computer for easy access.
To print a copy of the instructions below CLICK HERE
- CLICK HERE to access the Office 365 "Get Started" page.
- On the 365 "Get Started" page, type your CJ email address and click 365 "Sign Up".
- You will see the "You already have an account" screen – click CONTINUE.
- You will see the Office 365 login screen like you may already use for your email — put in your password and click SIGN IN.
- The "No need to sign up" screen appears — Click OKAY, GOT IT.
- On the next screen, the icons under "Collaborate with Office Online" will probably be gray and say they are setting up. This takes a few minutes.
- Once the icons change from gray to colors (see image below), you have access to all of Office 365 and can close the window.
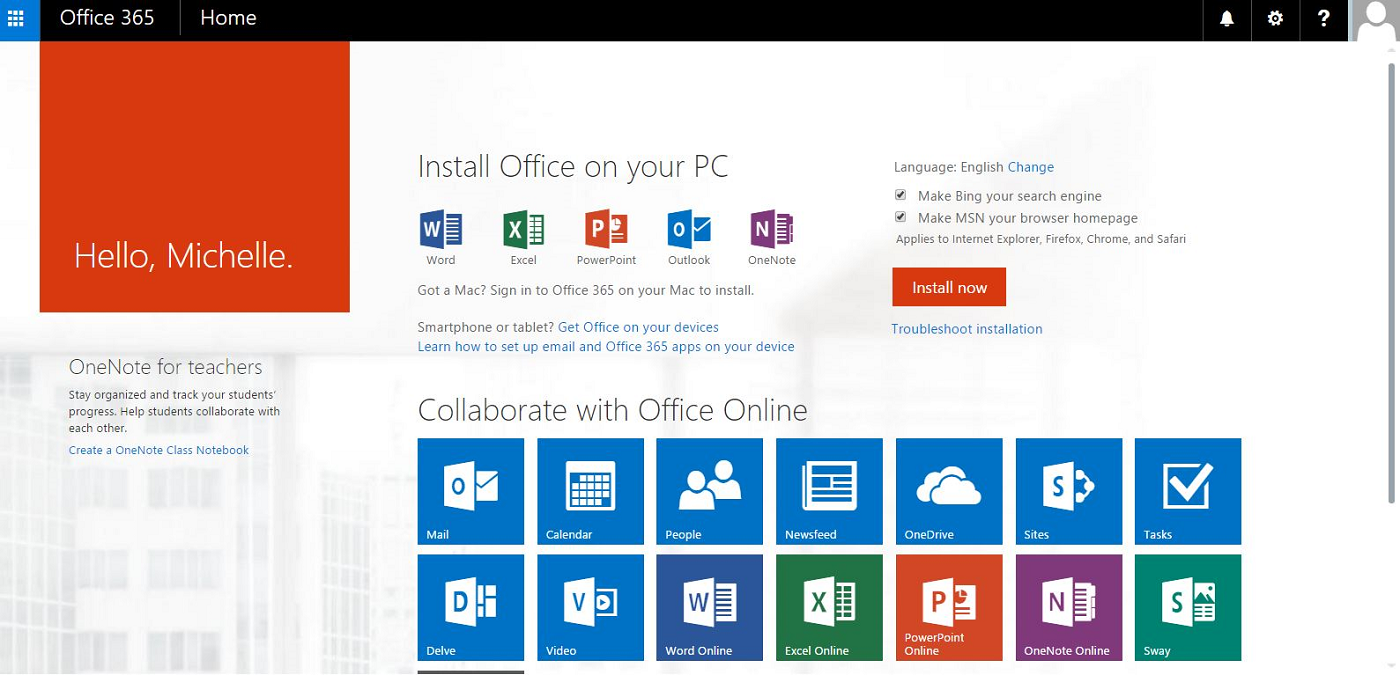
NOTE: You do NOT need to download or install anything from the last screen (shown above). Ignore the "Install Office on your PC" heading and INSTALL NOW button – Office is already installed on your school laptop.
However if you would like to install Office on another computer that you use for school purposes, you can log in at https://portal.office.com/Home and click INSTALL NOW.
You are now ready to use Office 365, meaning you can save your documents, OneNote notebooks, etc. online and access them from anywhere in an internet browser. This also enables collaboration/sharing of documents and notebooks through the cloud. See further instructions linked in OnCampus.
OFFICE: Adding a Connected Service
Before you can add a connected service, you need to make sure you are signed into Office:
- Open any office application (in this case, OneNote would be good)
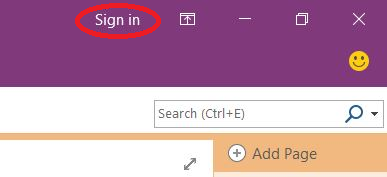
- In the top right corner of the screen, click SIGN IN as shown below. NOTE: If you see your name there, you are already signed in
- Type the email address and password you use with Office in the window that pops up
- Click the checkbox next to "Keep me signed in"
- Click SIGN IN
Adding a Connected Service
- Open any Office application (in this case, continue with OneNote if that is what you previously used
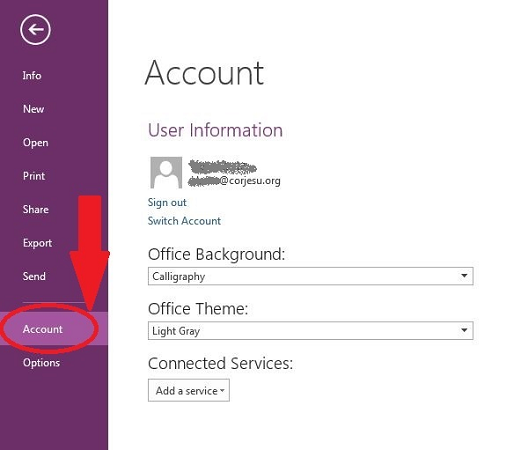
- Click FILE, then ACCOUNT, as shown in the image below:
- On the Account screen, click ADD A SERVICE under Connected Services, then select STORAGE, then OFFICE 365 SHAREPOINT, as shown below:
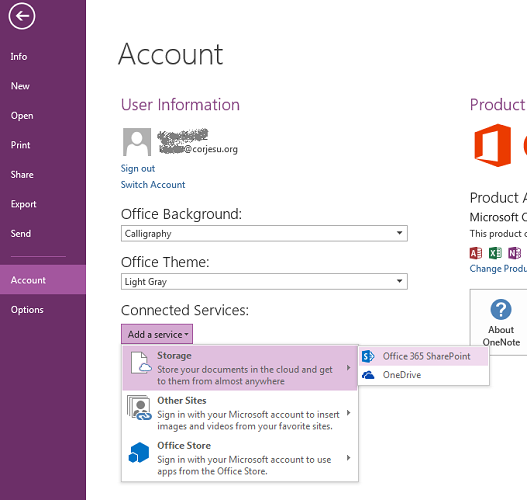
- You will now be prompted to enter your email address, then your password. An "Add Service" window will pop up and sync for a few seconds, then you will see two new "services" under Connected Services
- You now have the ability to save your files and notebooks to OneDrive within any Office appliation – doing this once in any application will apply it to all Office apps on your computer